Rules Overview
How Queen's Blood Works
Core Objective
The board is 3 lanes of 5 tiles. When neither player can make a move, each lane is scored: whoever has more power in a lane scores their full power total for it. Higher combined score wins — one giant lane can outscore two narrow wins, so watch the math, not just the lane count.
Ranks (Pips)
Every tile you control has a rank of 1–3 pawns, and a card can only be placed on a tile whose rank meets its cost. Playing a card claims tiles or raises ranks in the pattern printed on it. Rank-3 cards are powerful but need setup to land.
Power
Each card has a power value (the number in the corner). The total power on your side of each lane at game end is what scores. Abilities raise and lower power values constantly during the match.
Abilities
Most cards have abilities: Enhance (raise power), Enfeeble (lower power), Destroy (remove cards outright), Replace (consume an ally for a payoff), or Spawn (create tokens on empty tiles).
| Ability Type |
What It Does |
Best Used For |
| Enhance |
Raises the power of cards on the tiles the ability marks — either as a one-shot bump or a persistent aura while the card stays in play. Stacked auras turn cheap cards into lane winners. |
Buff decks; building a dominant lane |
| Enfeeble |
Lowers the power of cards on affected tiles. Some effects hit both sides — placement matters. A card reduced to 0 power is destroyed. |
Contesting lanes your opponent is winning |
| Destroy |
Removes cards from the board outright (Sephiroth's signature). Feeds "when cards are destroyed" payoffs on both sides — know who profits before you fire it. |
Breaking mature buff boards |
| Replace |
Consumes one of your own cards and converts it into a payoff — buffs or debuffs scaled to the replaced card's power (Griffon, Gi Specter, Yuffie). |
Cashing in spent buff targets; combo decks |
| Spawn / Rank up |
Spawn creates token cards on your empty tiles (Bahamut Arisen's Elementals). Rank-up effects (Titan, Disgorgon) raise position ranks so rank-3 cards can land early. |
Board development; enabling big drops |
Optimal Setup
Decks by Chapter — What You Can Run When
Counter Play
Beat Every Archetype
No single deck wins everything. Swap lists when you hit destruction-heavy NPCs, buff stacks, or Replace combos. Phase gates matter — the buff engine carries you to Gongaga, but don't force it into the endgame boards where Bahamut Destroy takes over.
Ch. 9+ Unlock
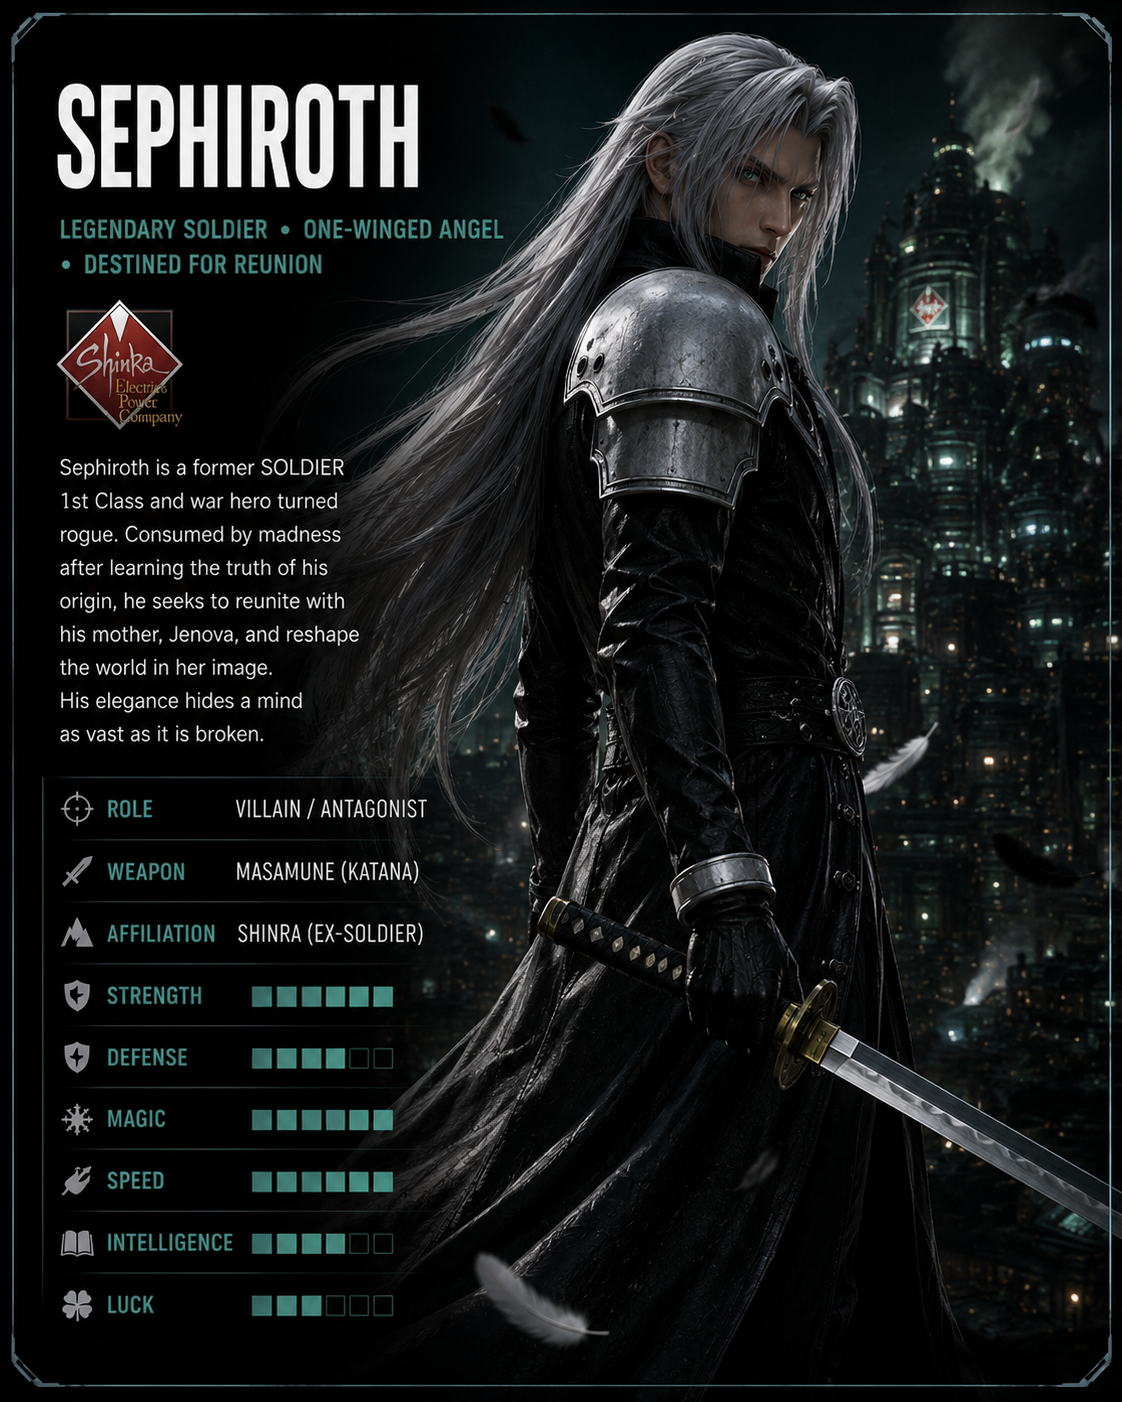
The Destroy Trump — Sephiroth
Survival: Boot Camp Reward · S Tier
Earn Bronze on Survival: Boot Camp at the Queen's Blood table in Wonderment Square (Gold Saucer, Ch.9+). Rank 3, power 4, and his ability destroys enemy cards on the affected tiles outright — the hardest single swing in the game. Let the opponent stack a lane, then delete the stack. He slots straight into Bahamut Destroy in place of Dyne.
Card Rankings
Card Tier List
Note on Tiers: Queen's Blood is a context-sensitive game — a C-tier card in one matchup can be game-winning in another. These ratings reflect general-purpose value across most matchups and deck archetypes.
Titan
RANK 2
POWER 5
S Tier
Rank Up: When played, raises position ranks by 2. Power 5 at rank 2 is already above rate, and he single-handedly enables your rank-3 drops. Buyable from Thorin’s shop in Chapter 2 — get him immediately.
Sephiroth
RANK 3
POWER 4
S Tier
Destroy: When played, destroys enemy cards on affected tiles. The hardest swing in the game — a mature enemy lane simply disappears. Bronze on Survival: Boot Camp (Wonderment Square, Ch.9+).
Bahamut Arisen
RANK 3
POWER 4
S Tier
Spawn: When played, fills your empty positions with Elementals — tokens that enhance your cards when destroyed. Board presence and removal insurance in one card. Thorin’s shop, Ch.10+.
Ifrit
RANK 3
POWER 5
A Tier
Scaling Enhance: +2 power for each other enhanced allied card. In a running buff engine he closes lanes at 10+ power. Win the Ch.5 shipboard tournament to get him early.
Cactuar
RANK 1
POWER 1
A Tier
Aura: +3 to allied cards on affected tiles while in play — the biggest rank-1 buff in the game. The backbone of every early deck. Beat the Queen’s Blood players outside the Kalm inn.
Shoalopod
RANK 2
POWER 1
A Tier
Aura: +4 to allied cards on affected tiles while in play. The buff engine’s mid-game power spike. High Seas Horror booster pack, Costa del Sol (Ch.6).
Crystalline Crab
RANK 1
POWER 1
A Tier
Aura: +2 to allied cards on affected tiles while in play. Cheap, immediate, and you can run two. Beat Ned outside the Kalm inn (Ch.2).
Chocobo & Moogle
RANK 1
POWER 1
B Tier
Scaling: +1 power for each other enhanced allied card. Grows all game in a buff deck — drop it once two or three auras are running. A Rare Card Lost quest reward (Ch.2).
Griffon
RANK R
POWER 1
B Tier
Replace: Consumes an ally and buffs affected tiles by the replaced ally’s power. Cashes in a spent buff target for one more lane push. Beat Oscar in Gongaga Village (Ch.9).
Toxirat
RANK 2
POWER 2
B Tier
Enfeeble: When played, lowers the power of allied AND enemy cards on affected tiles by 3. Place it away from your own board. Suppressive Strikers pack, Kalm (Ch.2).
Death Claw
RANK 1
POWER 2
B Tier
Snowball: +1 power every time an enemy card is destroyed. The destruction deck’s cheap win condition. Beat Mary at the Card Casino (Ch.8).
Security Officer
RANK 1
POWER 1
C Tier
Vanilla: No ability. Fine in the starter deck for claiming tiles, replaced the moment aura cards arrive. Starter deck (Ch.2).
Levrikon
RANK 1
POWER 2
C Tier
Vanilla: No ability, but power 2 at rank 1 is honest rate for the first hours. Starter deck (Ch.2).
Challenges & Rewards
Where the Big Cards Come From
Play everyone. Queen’s Blood players across the world hand over cards when beaten, general stores sell region-themed booster packs for 500 gil, and the puzzle challenges pay out the legendaries. The Ch.5 shipboard tournament is the one story-critical event — win it for Ifrit.
Early Game (Ch. 2–5)
Kalm & the Grasslands
Beat the players outside the Kalm inn for Cactuar and Crystalline Crab, and complete the A Rare Card Lost side quest to open Thorin’s Card Shop — it stocks Chocobo & Moogle, Titan (500 gil), and later Bahamut Arisen. Grab the Suppressive Strikers pack from the Kalm vendor for Toxirat.
Junon Region (Ch. 4)
Progress When Words Won’t Do to unlock Crow’s Nest, then buy the Shut Up ’n’ Drive pack for Ignilisk and Scrutineye. Beat Zoganon at the Under Junon dock for Zemzelett, and grab the Weird & Wicked pack for Archdragon.
The Shipboard Tournament (Ch. 5)
The story-run Queen’s Blood tournament on the crossing to Costa del Sol. Win it for Ifrit — the buff deck’s best finisher. If you lose, a copy appears in Thorin’s shop from Ch.12, but winning now saves the wait. Bring the full Kalm/Junon buff engine.
Mid Game (Ch. 6–10)
Costa del Sol — Card Carnival
Puzzle challenges, not matches: you must win the board in one exact sequence of plays. Devil by Night pays Tonberry King (Ch.6); the Ch.12 set pays Cid, Dyne and Yuffie. Read the whole board before your first placement — the solution always uses every card ability.
Gold Saucer (Ch. 8–9)
Three separate rewards: the Ghost Square GP Exchange sells Haunted Hotel for 150 GP, Mary at the Card Casino hands over Death Claw, and Bronze on Survival: Boot Camp at Wonderment Square (Ch.9) earns Sephiroth. Survival runs use preset decks — play the removal cards late, after the AI commits.
Gongaga & Cosmo Canyon (Ch. 9–10)
Beat Oscar in Gongaga Village for Griffon and buy the Jungle Arcanum pack for Amphidex. In Cosmo Canyon, the Stranger than Fiction pack carries Gi Specter — both Replace engines for the endgame deck.
Endgame (Ch. 11+)
Nibelheim & the Ch. 12 Sweep
The Prehistoric Beasts pack in Nibelheim (Ch.11) carries Disgorgon. In Ch.12, return to Costa del Sol and the Gold Saucer: the Card Carnival set and Don’t Fear, MAI’s Here (Wonderment Square) complete Bahamut Destroy with Cid, Dyne, Yuffie and Anuran Suppressor.
Endgame NPCs
Late opponents run mature buff boards and destruction mirrors. Against buff boards, remove the aura cards before the finisher lands; against destruction, spread wide and rebuild with auras. Bahamut Destroy with Sephiroth swapped for Dyne handles both.
Collection
How to Get Every Key Card